Comprehensive Guide To Drywall Patching
This is a subtitle for your new post
Comprehensive Guide to Drywall Patching
Drywall patching is an essential skill for homeowners and DIY enthusiasts. Whether it's fixing small nail holes or large damages, knowing how to properly patch drywall can restore the look of your walls and enhance your home's appearance. In this guide, we'll explore various methods for patching drywall, accompanied by a practical video demonstration.
Understanding Drywall Damage
Before you begin any repairs, it’s important to identify the type and extent of the drywall damage you’re facing. Common types of drywall issues include:
- Cracks and seam separations
- Medium-sized holes (e.g., those from doorknob impacts)
- Large holes or sections of damaged drywall
- Nail pops and screw holes
- Small holes from wall anchors or hooks
Assessing the damage thoroughly is crucial; minor issues might indicate settling, while large cracks could signify more serious foundational problems.
Tools and Materials Needed for Drywall Repair
To effectively patch drywall, gather the following tools and materials:
- 1×2 wood strips (for backing larger holes)
- Caulk gun
- Construction adhesive
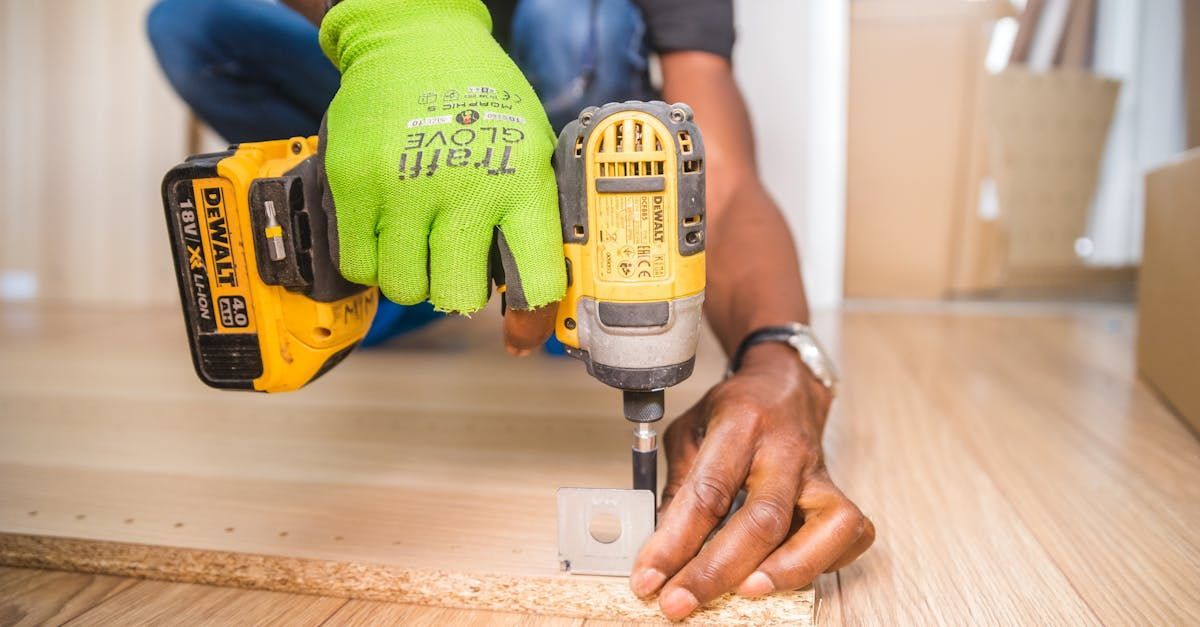
- Drill/driver
- Drywall hawk
- Drywall knives (typically 4-inch and 12-inch sizes)
- Drywall saw
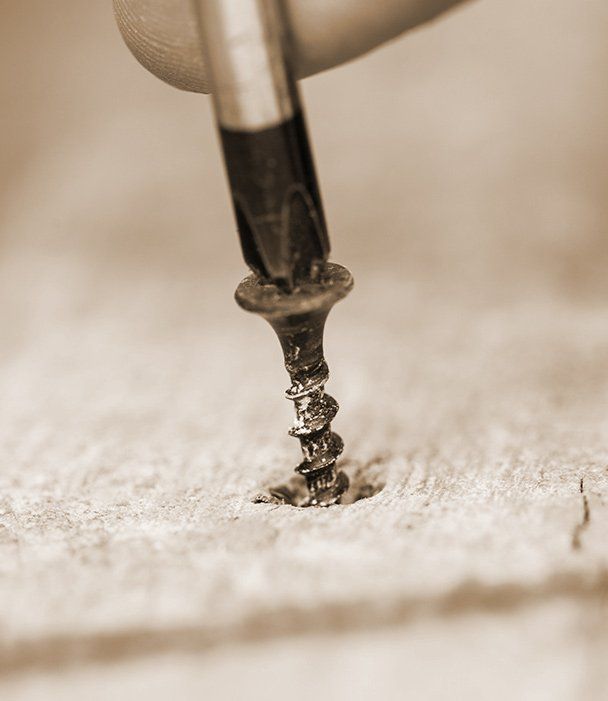
- Drywall screws
- Drywall tape or mesh
- Joint compound
- Sandpaper (various grits)
- Utility knife
- Scrap drywall (for larger repairs)
Having these tools ready will streamline your repair process and make your work more efficient.
Patching Small Holes and Nail Pops
Fixing small holes and nail pops is relatively simple. Here’s how to do it:
- Apply a thin layer of joint compound over the damaged area using a 4-inch drywall knife.
- Allow the compound to dry completely.
- Sand lightly with fine-grit sandpaper.
- Apply a second thin coat of joint compound, feathering the edges.
- Once dried, sand again for a smooth finish.
- If necessary, add a third coat for perfection.
This straightforward method allows for a seamless finish and is particularly suitable for minor imperfections.
Patching Medium-Sized Holes
For medium-sized holes, an adhesive-backed aluminum patch is beneficial:
- Clean the area surrounding the hole.
- Cut the patch to size, ensuring it extends beyond the damaged area.
- Peel the backing and apply the patch.
- Cover the patch with a thin layer of joint compound using a 12-inch drywall knife.
- Allow to dry and sand lightly.
- Repeat additional coats as necessary.
Using a patch larger than the hole reinforces the repair and decreases the risk of future cracking.
Repairing Large Holes
For larger holes, a more detailed procedure is necessary:
- Cut a rectangular piece of scrap drywall slightly larger than the hole.
- Trace the outline of the scrap on the wall, and cut along this line with a drywall saw to create a clean rectangular hole.
- Insert two 1×2 wood strips vertically within the hole for support.
- Secure them with drywall screws.
- Fit the drywall patch into the hole, securing it to the wood strips.
- Apply joint compound over the patch, pressed with fiberglass mesh tape for extra stability.
- Feather the edges and continue applying joint compound until smooth.
This method will create a robust and less noticeable repair.
Finishing Touches for a Seamless Look
Achieving a professional finish requires attention to detail:
- Sanding and Feathering: Sand the edges of each compound layer, progressively using finer grits.
- Texture Matching: If your walls are textured, practice replicating the texture on a scrap piece before applying it to the repair.
- Priming and Painting: Once your patch is dry, be sure to prime the area and blend with paint.
Additional Tips
- Work in a well-ventilated area.
- Protect your floors and furniture from dust.
- Clean your tools right after use for longevity.
Watch the Demonstration
For a practical visualization of the drying process and repair techniques, check out this excellent video tutorial from This Old House, where Tom Silva demonstrates these methods in action. You can watch the full video here.
This comprehensive guide highlights the fundamental approaches to drywall patching, ensuring your walls are restored smoothly and seamlessly. Whether you choose to tackle these repairs yourself or call a professional, knowing what is involved can greatly aid in planning your home improvement projects. Happy DIY-ing!